
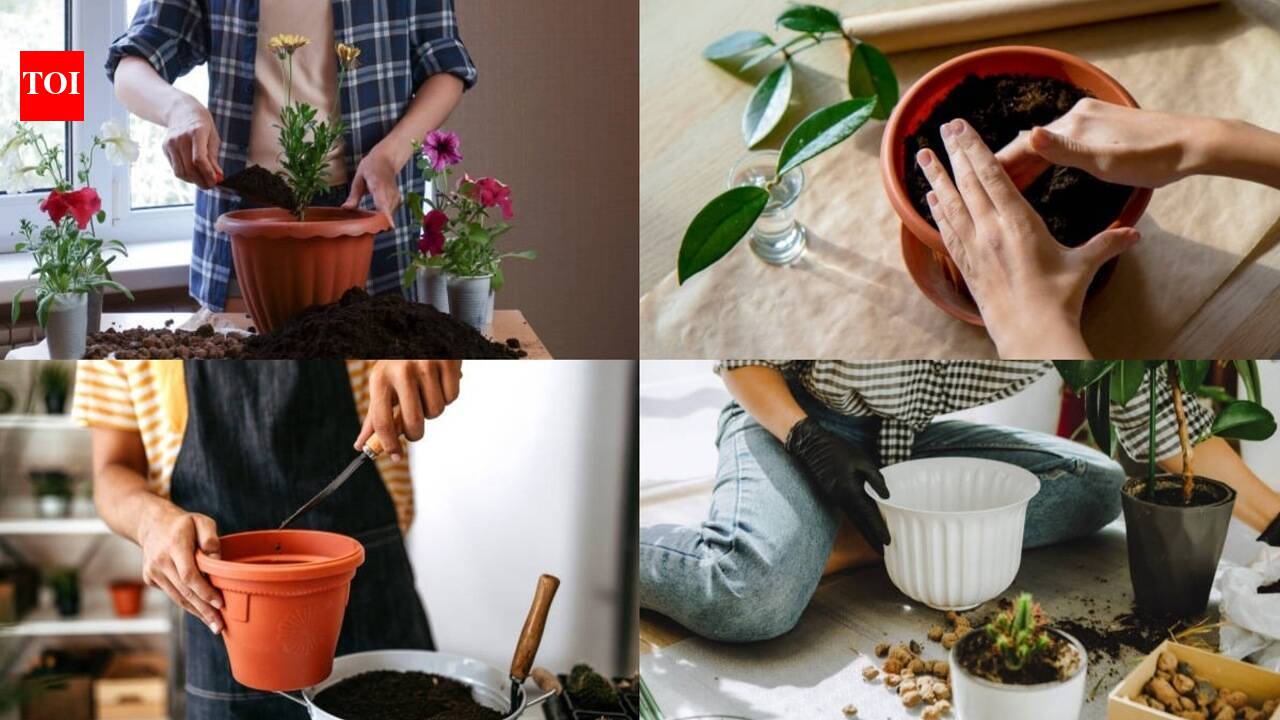
Almost everyone who’s ever potted a plant has been taught the same first step: put a layer of broken pottery, pebbles, or gravel at the bottom before adding soil, supposedly to help excess water drain away. It’s advice passed down through generations of Indian households, repeated in nursery shops and gardening columns alike. The problem is that modern horticultural science has actually tested this assumption, and the results consistently show the opposite of what most people believe, a bottom layer of gravel doesn’t improve drainage, it can genuinely make waterlogging worse. Getting a pot properly set up turns out to depend far more on what’s mixed into the soil itself than on what sits beneath it. Here’s a layering guide based on what actually works.
Why the traditional gravel layer doesn’t do what you think
The science behind this comes down to something called a perched water table, the naturally saturated zone that forms at the bottom of any potted soil after watering, caused by the balance between gravity pulling water down and capillary action holding it in the fine soil particles. Water doesn’t move easily from fine potting soil into coarse material like gravel until the soil directly above is almost completely saturated first, which means adding a gravel layer doesn’t drain water away faster, it actually pushes that saturated zone higher up into the pot, closer to the plant’s roots rather than further away from them. Research has confirmed this repeatedly, which is why the advice is genuinely shifting away from the old practice.
What actually matters: Covering the drainage hole
None of this means the bottom of the pot doesn’t need any attention at all, it just needs a much smaller intervention than a full layer. A single broken piece of terracotta, a small square of mesh, or even a coffee filter placed directly over the drainage hole is enough to stop soil from washing straight out every time you water, without creating the thick coarse layer that causes the saturation problem. The goal here is simply to keep the hole from clogging or leaking soil, not to build a drainage system, since the actual drainage work needs to happen in the potting mix itself.
Building the right potting mix
This is where real drainage improvement actually happens. Rather than layering coarse material at the bottom, mixing sand, perlite, or coarse organic matter directly and evenly throughout the entire potting mix changes the soil’s physical structure in a way that genuinely improves how water moves through it. A mix that’s roughly built around garden soil, compost, and a drainage-improving amendment blended together from top to bottom drains far more evenly than soil sitting on top of an isolated coarse layer, since there’s no abrupt texture change anywhere for water to get stuck at.
Where coco peat fits in
Coco peat, made from coconut husk fibre, has become a staple of Indian potting mixes for good reason. It’s lightweight, holds moisture well without becoming waterlogged the way garden soil alone can, and is a genuinely sustainable byproduct rather than mined material. It works best soaked and fluffed up before use, since dry coco peat blocks can be surprisingly compact straight out of the packet, and it’s typically blended with soil and compost rather than used entirely on its own, since a pot of pure coco peat can actually retain more water than most plants want around their roots.
Getting the ratios right
A reliable general-purpose mix works out to roughly equal parts garden soil and compost, with coco peat making up around a quarter of the total volume for moisture retention, and a smaller portion of coarse sand or perlite mixed in for aeration and drainage. This ratio can shift depending on what you’re growing, succulents and cacti do better with more sand and less coco peat, while leafy, moisture-loving plants benefit from a slightly higher coco peat ratio, but the underlying principle stays the same: blend everything together evenly rather than stacking distinct layers.
A thin mulch layer on top, not the bottom
Interestingly, the one place a layer genuinely does help is the top of the pot, not the bottom. A thin covering of dried leaves, straw, or small pebbles spread over the surface of the soil slows down moisture evaporation, moderates soil temperature, and helps prevent soil from splashing out during watering, all without creating the drainage problems that a bottom layer causes. It’s a simple, low-effort addition that does genuinely deliver on the benefits people usually expect from the bottom layer instead.
A small shift in habit, A real difference in results
None of this requires more effort than the traditional method, if anything, it’s simpler, since it skips the extra step of sourcing and layering gravel or broken pottery altogether. Focusing on a well-blended potting mix, a simple mesh or shard over the drainage hole, and a light mulch on top addresses drainage at the level where it actually matters, giving plants a genuinely healthier root environment than the old bottom-layer habit ever did.Disclaimer:This article is intended for general informational purposes only. Ideal potting mix ratios can vary depending on the specific plant, pot size, and local climate. For plants with very specific soil requirements, consult a local nursery or horticulture expert.