
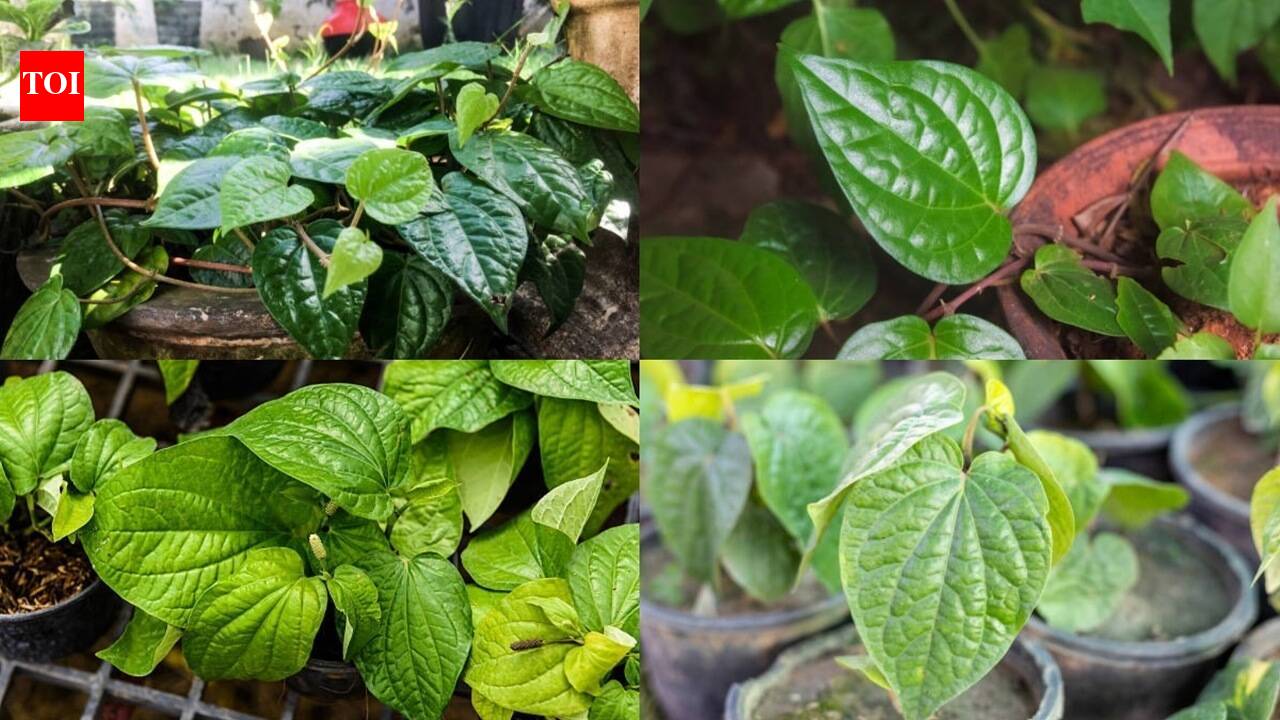
Betel leaf, that glossy, heart-shaped leaf better known across India as paan patta, has been part of the country’s culture for thousands of years, tucked into wedding rituals, offered at temples, and of course, folded up with betel nut as the after-meal favourite most households instantly recognise. What many people don’t realise is just how easy this plant is to grow at home, even in a pot on a balcony or a shaded corner of a terrace. It’s a tropical creeper that asks for very little once it settles in, and within a few months, you can be harvesting fresh leaves straight off your own plant. Here’s a complete, beginner-friendly guide to growing betel leaf in pots, step by step.
Start with a healthy stem cutting
Betel leaf seeds are genuinely hard to come by, which is why almost everyone grows this plant from a stem cutting instead, either sourced from an existing plant or bought as a small cutting from a local nursery. Choose a healthy, disease-free stem and cut a piece roughly 4 to 6 inches long, making a clean, slanted 45-degree cut just below a leaf node using a sharp knife. Strip away the lower leaves entirely, leaving only the top two intact, since those lower nodes are where new roots will eventually emerge.
Root the cutting in water first
Rather than planting the cutting directly into soil, place it in a glass or bottle of clean water and set it somewhere bright, though not in harsh direct sun. Change the water every couple of days to keep it fresh and prevent the stem from rotting while it works on developing roots. This usually takes a few weeks, and you’ll know it’s ready to move into soil once you can see a decent cluster of small roots forming underwater at the base of the stem.
Prepare the right pot and soil mix
Betel leaf plants genuinely dislike sitting in soggy, waterlogged soil, but they also don’t want to dry out completely, so getting the mix right matters. Combine regular garden soil with coco peat and well-rotted compost or aged manure, and if your soil tends to be heavy or clayey, mix in a bit of coarse sand to improve drainage. Choose a reasonably deep pot with several drainage holes at the base, since this plant’s root system appreciates room to establish itself properly.
Transplant and give it something to climb
Once your cutting has developed healthy roots, transplant it into the prepared pot, burying the rooted end a few inches deep and firming the soil gently around it. Since betel leaf is naturally a climbing vine, it’ll do best with some kind of support nearby, a small stake, a piece of trellis, or even a moss pole, to grow along as it matures. Without support, it’ll simply trail and spread outward instead, which works fine too if you’re using it more as ground cover.
Get the light and location right
This plant is genuinely particular about light, and getting it wrong is one of the most common reasons beginners struggle. Betel leaf wants partial shade with some filtered morning sun, an east or north-facing spot tends to work best, while harsh, direct afternoon sun can scorch its tender leaves fairly quickly. If you’re growing it indoors, place it near a bright window where it gets plenty of indirect light rather than direct exposure through the glass.
Water consistently, and feed every few weeks
Keep the soil lightly moist at all times, watering regularly enough that it never fully dries out, but always empty any excess water collecting in the base tray to avoid root rot. Cut back on watering frequency during the monsoon, since the extra ambient moisture alone is often enough, and overwatering on top of that is a fast way to stress the plant. Feed it every three to six weeks with a balanced liquid fertiliser, or if you prefer going organic, work in some well-rotted cow manure two to three times a year instead.
Watch for pests, and harvest the right way
Keep an eye out for red mites and leaf blight, both fairly common issues for betel leaf plants; treat mites with a mild insecticidal soap and simply snip away any infected leaves or stems as soon as you spot them. Most plants are ready for their first proper harvest within four to six months of planting. When harvesting, use clean scissors and never pick more than about a quarter of the plant’s leaves at once; this keeps the plant healthy and actually encourages fresh new growth.Disclaimer:This article is intended for general informational purposes only. Growing conditions and results can vary depending on your specific climate, soil, and the growing setup used. Betel leaf is traditionally associated with certain health and cultural benefits in India, but this article does not constitute medical advice; consult a doctor or Ayurvedic practitioner for guidance on its consumption. It’s also advisable to consult a local nursery for guidance tailored to your region.