
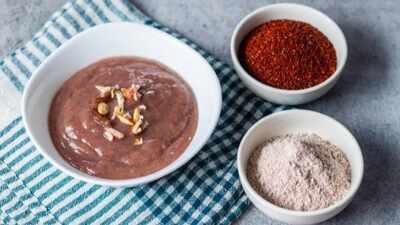
There’s a reason ragi mudde has stuck around as a staple in Karnataka households for generations: it’s filling, genuinely nutritious, and pairs beautifully with a good spicy saaru or sambar on a day when you want something more substantial than plain rice. But anyone who’s tried making it at home for the first time knows it’s got a bit of a reputation; get the water ratio even slightly wrong and you end up with something either too sticky to shape or too dry to hold together at all. The good news is that once you understand the actual technique, ragi mudde is honestly a lot more forgiving than people give it credit for. Here’s a genuinely simple, step-by-step way to get it right.
What you’ll need
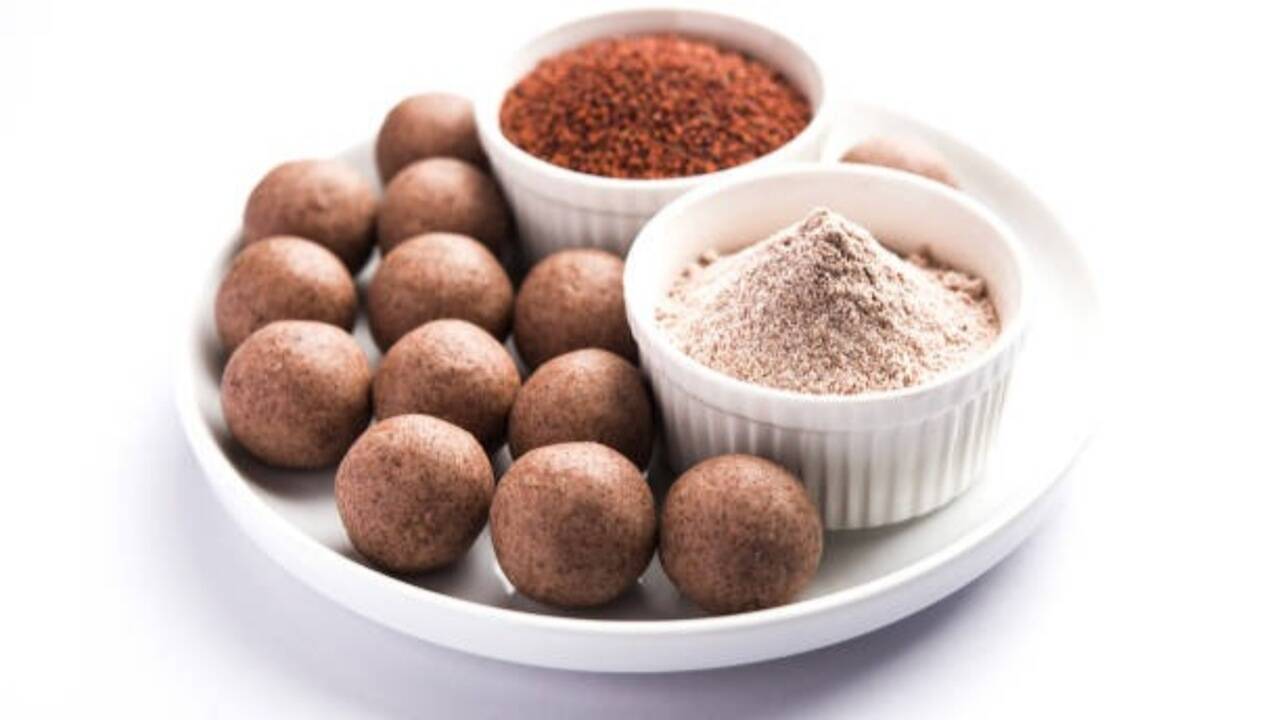
You don’t need much for this, just ragi flour, water, and a pinch of salt if you like. The ratio that tends to work best is roughly one cup of ragi flour to about two and a half cups of water, though this can shift slightly depending on the specific flour you’re using and how fine it’s ground. Having a sturdy wooden mudde kolu or a strong wooden spoon on hand genuinely helps, since the mixing gets fairly intense toward the end and a flimsy spoon just won’t hold up.
Step one: Boil the water first, not the flour
Start by bringing your measured water to a rolling boil in a heavy-bottomed pan, adding a pinch of salt if you’re using it. This part matters more than people realise, since adding ragi flour to water that isn’t properly boiling yet is one of the most common reasons mudde turns out lumpy or unevenly cooked. Let the water reach a proper, visible boil before moving to the next step, rather than just warm or simmering.
Step two: Add the ragi flour gradually
Once the water’s boiling, reduce the heat to low and start adding the ragi flour a little at a time, sprinkling it in from one side of the pan rather than dumping it all at once. Resist the urge to stir immediately after each addition, just let the flour sit on the surface of the water for a few seconds before gently pushing it in with your spoon. Adding it too quickly is another common reason people end up with lumps that never quite smooth out later in the process.
Step three: Cover and let it steam briefly
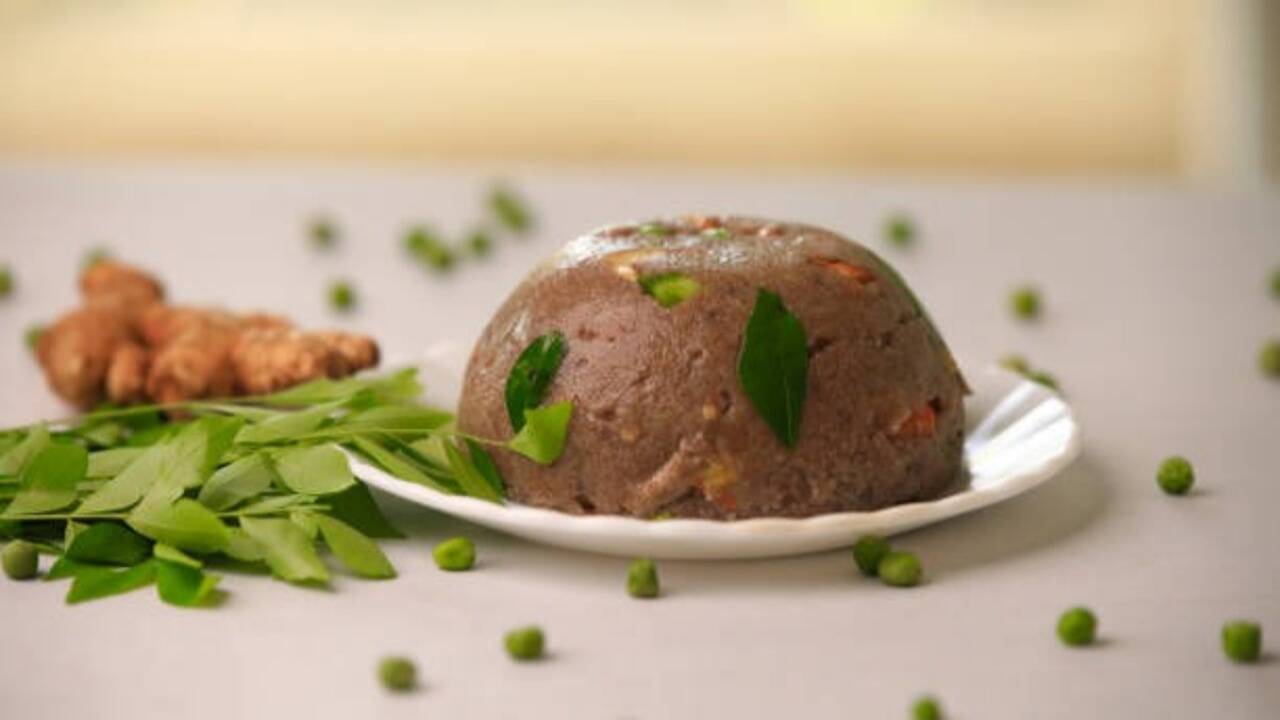
After all the flour’s gone in, cover the pan with a lid and let it sit on low heat for about two to three minutes without stirring. This brief steaming step allows the flour to absorb the water more evenly, which makes the next stage of mixing considerably easier. Skipping this step and moving straight to mixing often results in a mudde that feels gritty or undercooked in the centre, even if the outside looks fine.
Step four: Mix vigorously until smooth
This is the part that takes a bit of real effort, remove the lid and start mixing the mixture vigorously and continuously using your wooden mudde kolu or a sturdy spoon, pressing and folding it against the sides of the pan as you go. Keep the pan on low heat throughout this process, and keep mixing until the mixture is smooth and glossy and pulls away from the sides of the pan with no lumps.This step usually requires a good five to seven minutes of steady, uninterrupted mixing, so it’s useful to have the pan on a stable surface and both hands free.
Step five: Mold it while it is still warm
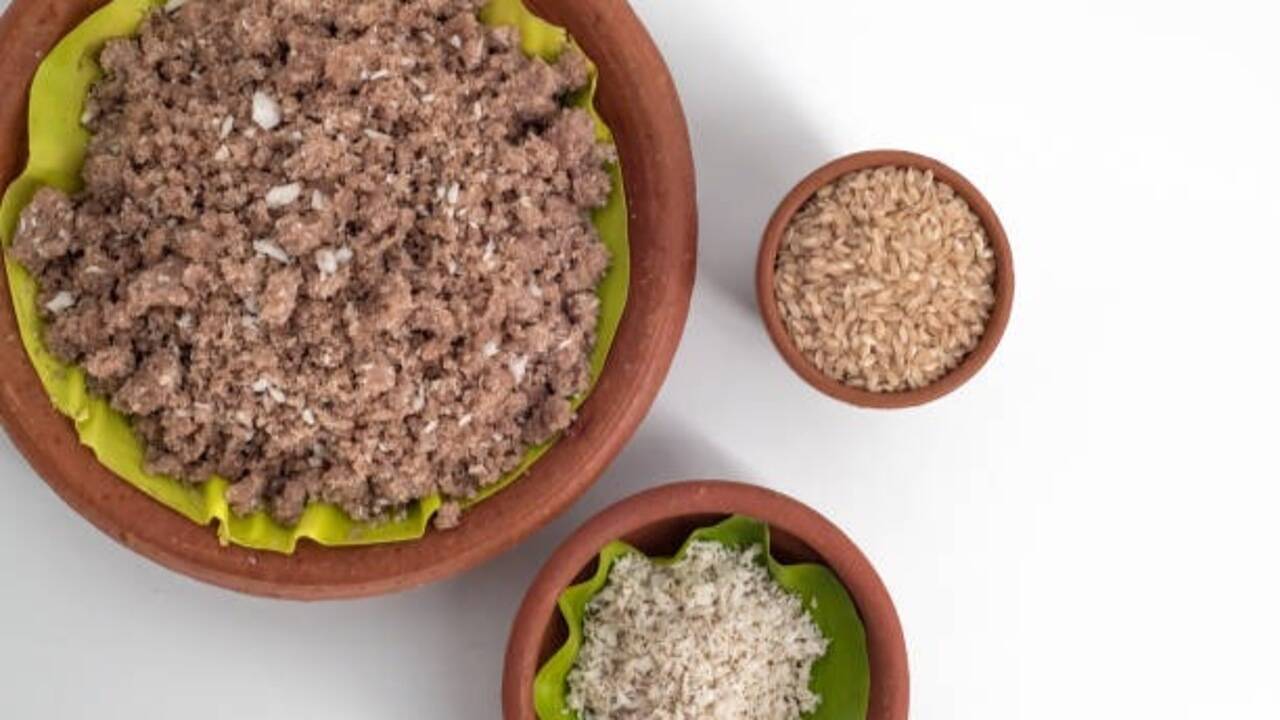
When the mixture is smooth and dough-like in consistency, remove from heat and cool just enough to handle (it should still be quite warm when you start shaping). Wet your hands with a little water or oil to prevent sticking, then scoop out a portion and roll it firmly between your palms into a smooth, round ball. Working while it’s still warm makes shaping significantly easier, since the mixture stiffens and becomes much harder to mould as it cools down completely.
Common mistakes and how to fix them
If your mudde keeps turning out too sticky, it usually means you added too little flour relative to the water, or you didn’t mix long enough to thicken it properly. If it comes out too dry or crumbly, that usually points to too much flour or water that wasn’t boiling properly before you added the flour. Lumps almost always trace back to either adding the flour too quickly or not letting it steam undisturbed before mixing, so slowing down at those specific steps usually solves the problem the next time around.
Disclaimer:
This article is intended for general informational and culinary purposes only. Cooking results can vary based on flour quality, water ratio, and individual technique. Anyone with allergies, dietary restrictions, or specific health conditions should consult a qualified nutritionist before making dietary changes.